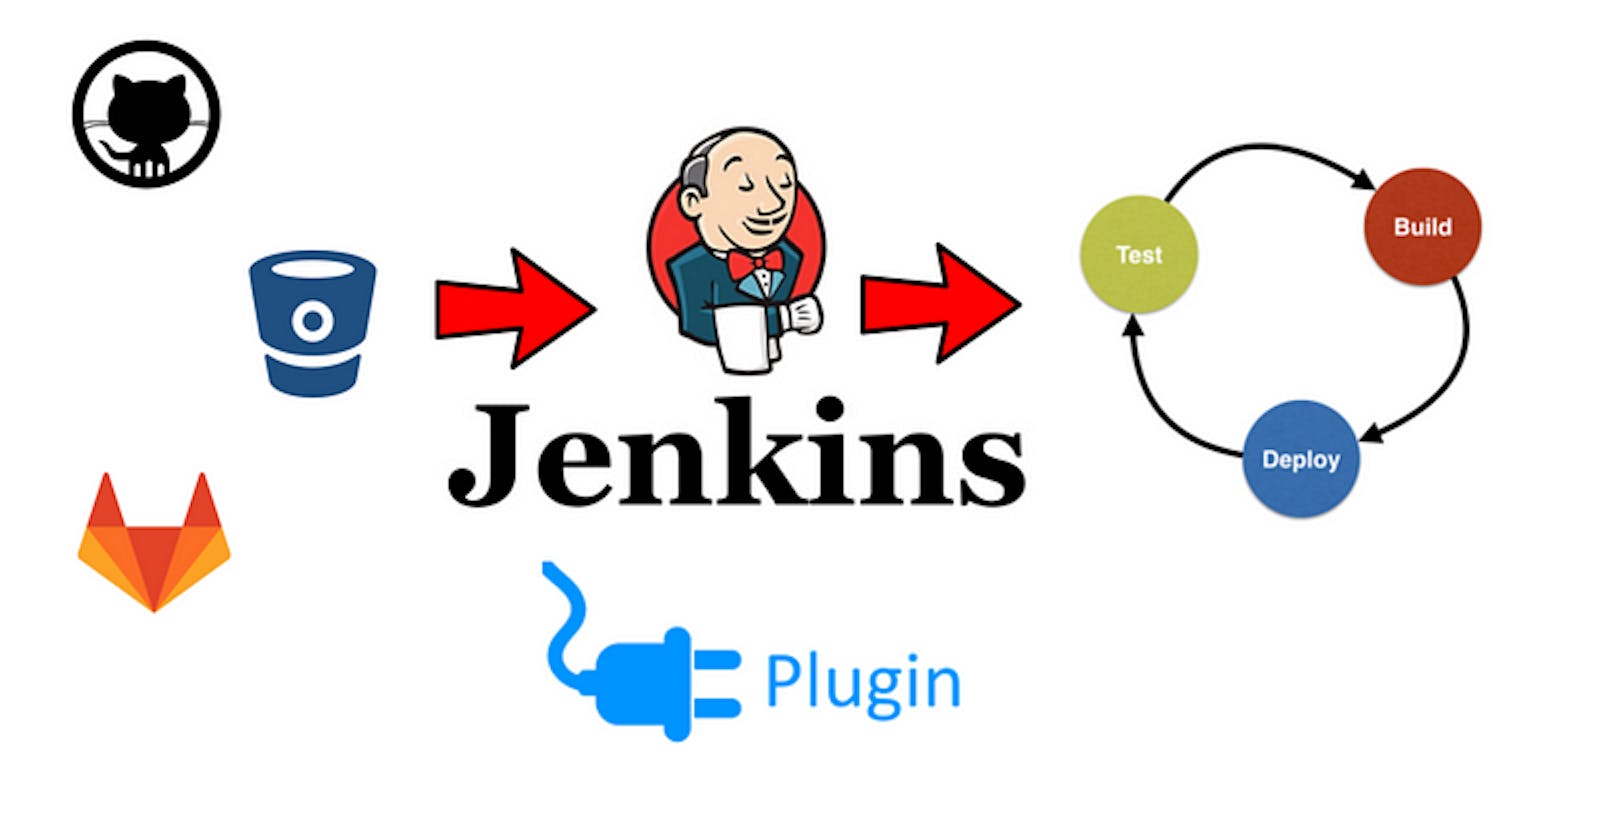
We use webhooks or Poll SCM everyday in our CICD Pipeline to enable our jobs to be triggered automatically every time we do changes on our git repo in use. Let us look today at how to do that.
Intro
Jenkins GitHub Webhook is used to trigger the action whenever Developers commit something into the repository. It can automatically compile or deploy applications if there are no errors detected. In this article, you will learn the steps to set up Jenkins GitHub Webhook. You will also read about the benefits of the Jenkins GitHub Webhook and how it helps Developers automate tasks.
Prerequisites
- An active GitHub account.
- Jenkins installed on the operating system.
Steps to Set Up Jenkins GitHub Webhook
Now that you have a good understanding of Jenkins and GitHub. In this section, you will learn about the steps to set up Jenkins GitHub Webhook. The following steps are listed below:
- Step 1: Configuring Jenkins for GitHub
- Step 2: Setting Up GitHub/Gitlab/Bitbucket Webhook
PLEASE NOTE THAT THE PROCEDURE IS THE SAME FOR ALL SCM!!
Step 1: Configuring Jenkins for GitHub
- Log in to Jenkins.
- Click on the “New Item” option to create a new job, as shown in the image below.

Image Source: MySelf
- Then, select the “Freestyle Project” option and click on the “Ok” button, as shown in the image below.
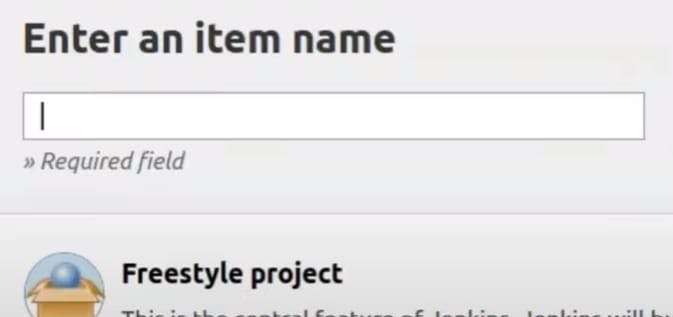
Image Source: MySelf
- It will open the configurations for the new Jenkins GitHub Webhook project you just created.
- Go to the “Source Code Management” tab to change the settings for Jenkins GitHub Webhook.
- Scroll down and under the “Source Code Management” section, choose the “Git” option to let Jenkins know that the new job is for Jenkins GitHub Webhook.
- Log in to your GitHub account.
- Open the repository that you want to sync with Jenkins for Continous Integration.
- Go to your GitHub account and copy the URL of your repository from the address bar of the browser.
- Switch back to your Jenkins GitHub Webhook tab and paste the URL in the field of “Repository URL“, as shown in the image below.
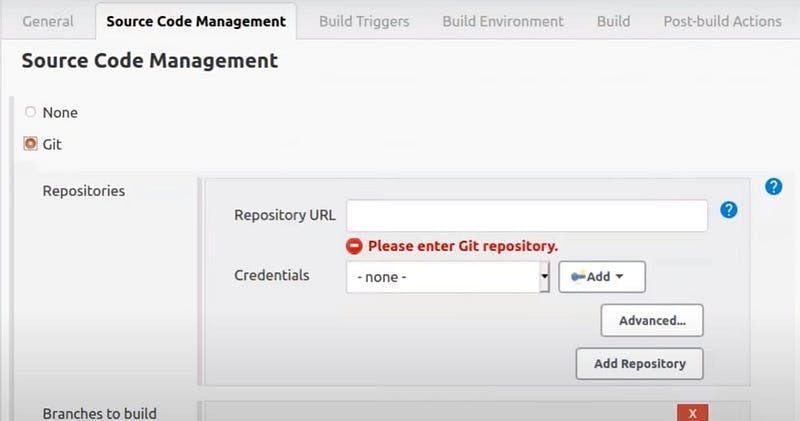
Image Source: MySelf
- Now, go to the “Build Triggers” tab where you can configure what action Jenkins GitHub Webhook should perform if any change is detected by Jenkins in the GitHub repository.
- Here, choose the “GitHub hook trigger for GITScm pulling” option, which will listen for triggers from the given GitHub repository, as shown in the image below.

Image Source: MySelf
- Now, click on the “Apply” button to save the changes and create a new Jenkins GitHub Webhook for your repository.
Step 2: Setting Up GitHub Webhook
- Switch to your GitHub account.
- Now, go to the “Settings” option on the right corner, as shown in the image below.

Image Source: MySelf
- Here, select the “Webhooks” option and then click on the “Add Webhook” button, as shown in the image below.

Image Source: MySelf
- It will provide you the blank fields to add the Payload URL where you will paste your Jenkins address, Content type, and other configuration.
- Go to your Jenkins tab and copy the URL then paste it in the text field named “Payload URL“, as shown in the image below.
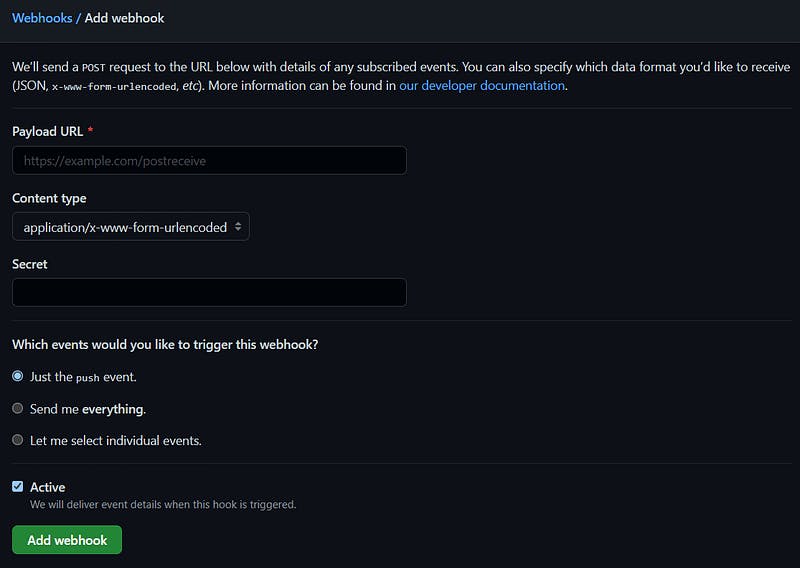
Image Source: MySelf
- Append the word “/github-webhook/” or “/bitbucket-hook/”at the end of the URL.
- For Github, the final URL will look like in this format “address:port/github-webhook“
- For Github, the final URL will look like in this format “address:port/bitbucket-hook"
- Let us look at what it looks like in BitBucket
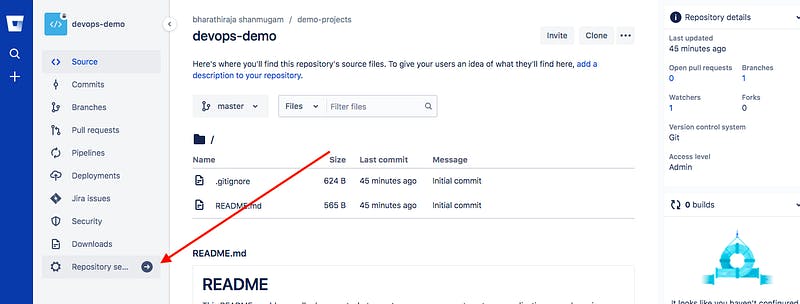
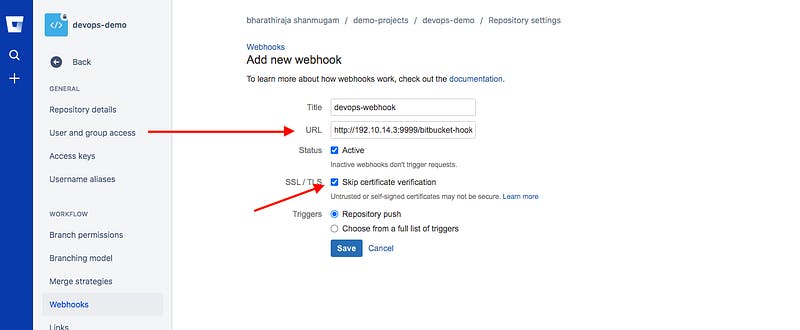
- Once you follow the above steps in the correct sequence, you will be able to set up BitBucket Webhook Jenkins Integration in no time!
Let us go back to Github..
- In GitHub, select the “Content type” to “application/json” format, as shown in the image below.

Image Source: MySelf
- The “Secret” field is optional. Let’s leave it blank for this Jenkins GitHub Webhook.
- Next, choose one option under “Which events would you like to trigger this webhook?“. The 3 options will do the following events listed below:
- Just the Push Event: It will only send data when someone push into the repository.
- Send Me Everything: It will trigger, if there is any pull or push the event into the repository.
- Let Me Select Individual Events: You can configure for what events you want your data.
- Now, click on the “Add Webhook” button to save Jenkins GitHub Webhook configurations.
That’s it! You completed Jenkins GitHub Webhook. Now for any commit in the GitHub repository, Jenkins will trigger the event specified.
Benefits of Jenkins GitHub Webhook
Jenkins GitHub Webhook provides an environment for Continuous Integration (CI) and is widely used in the DevOps process. A few benefits of Jenkins GitHub Webhook are listed below:
- Jenkins GitHub Webhook makes the development process faster as it allows Developers to automatically perform a specified action when any commit is done to the source code.
- It helps Developers detect issues and resolve them almost right away which keeps the application in a state to deploy safely.
- Jenkins GitHub Webhook automates the build, test, and deployment of projects on any platform.
Conclusion
That’s it for today folks. In this article, you learnt the steps to set up Jenkins GitHub Webhook. You also read about the benefits of using Jenkins GitHub Webhook in Software Development and how it helps Developers save time.
Please stay tuned and subscribe If you’d like to learn more about Infrastructure as Code, or other modern technology approaches and study materials on DevOps, Agile, DevSecOps and App Development.
#YouAreAwesome #StayAwesome
Please if this is helpful, do click here to buy me a coffee.

